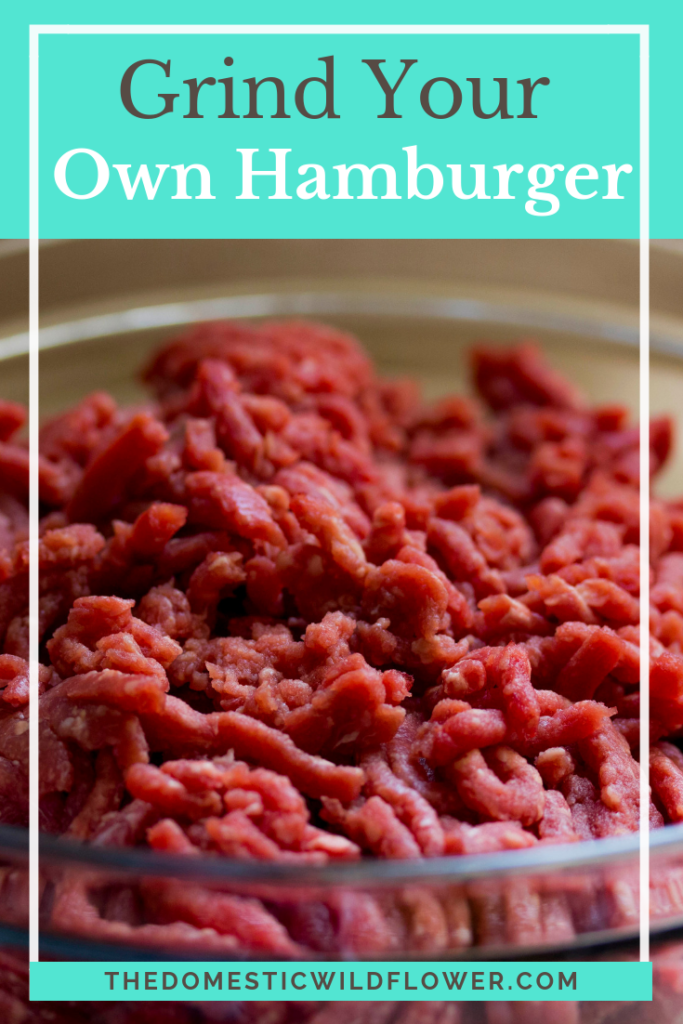
Tips for Grinding Your Own Hamburger
Grinding your own hamburger may seem like an activity best left to a white-clad man behind the deli counter but it is actually not difficult and can result in a very versatile food product that you can prepare at home. Follow these tips for a successful meat grinding session.
I have spent a lot of years trying to figure out how best to use up the wide array of wild game from the sky, land, and lakes that my husband brings home from hunting. Frankly, in terms of meat that I can cook quickly in a wide variety of meals, you can’t beat ground.
There is one important tool and several tips I can suggest for grinding your own beef, buck meat, or other game.
This post may contain affiliate links. All opinions are my own.
The first thing you will need is a means of grinding the meat. I have this grinder, which attaches to my Kitchen Aid stand mixer and I think that for your money, it is a home run. It is small and fits nicely back in its box when I am not using it, it is relatively inexpensive, makes use of an appliance I already own and is simple to use. I really don’t have the desire to buy a whole separate appliance for a task I tackle only a few times a year. The photo link below is indeed an affiliate link but I can honestly recommend it without reservation. The one thing I would change is that the hopper is a bit small sometimes but then again if it were bigger, it would take up more cupboard space. I also love this because I have used it in a rush, with big chunks of meat, and I have never clogged it nor made it halt. It’s a workhorse, and if you plan on processing meat in the future, I don’t think you’d regret this purchase.

In addition to this important tool, you will need to follow a few tips to be in hamburger heaven. Read on, Wildflowers!
The ratio of fat to lean and bacon ends: the Wild game is typically very lean. We are often under the false impression that fat is an evil substance when in fact, it can be very healthful. Furthermore, if you are interested in eating healthfully, you won’t find much more ‘natural’, ‘healthy’ ‘organic’, or any other buzzword you want to use than wild game. The trouble is that fat is what gives meat its flavor, it helps keep us feeling full, and is what makes cooking meat easier. It helps a hamburger hold its shape, for example. Enter bacon ends. You can purchase in your grocery store or from your butcher bacon ends which are irregularly shaped and sized pieces of bacon with a lot of fat included. By adding bacon ends to your meat in a ratio of about ¼ fat or bacon ends to ¾ meat, your result is a flavorful, tender, and appropriately fatty blend. By all means, play with this ratio but I’d bet you would be happiest with a meat ground to this ratio. If you are watching your metaphorical waistline, I would suggest the same ratio but eat a bit less. As for the bacon flavor, I wouldn’t say the meat tastes like bacon. It tastes better, and that is very different.
Cold shoulder: You want the shoulders, roasts, and every other part destined for the grinder to be nearly frozen. Room temperature meat is actually more difficult and slower to grind than ice cold meat and I feel comforted by the meat being really cold because it has to sit at room temperature at least for a bit while being ground and awaiting packaging.
Aim for so cold that it is very, very firm.
Grind twice: I really hate tasks that take a lot of time but this is a step you shouldn’t skip. By grinding the meat twice, you can use tougher cuts of meat-either from afield or from the grocery store- and still get a tender burger (or stroganoff, or taco, or whatever) and you better incorporate the all-important bacon ends into the meat.
Procedure: Try to have an idea of how many pounds of meat you will be processing so you can get the ratio right. This can be difficult if the meat is being cut off the carcass as you grind (which is the way we do it in my home) but try to get a good guess.
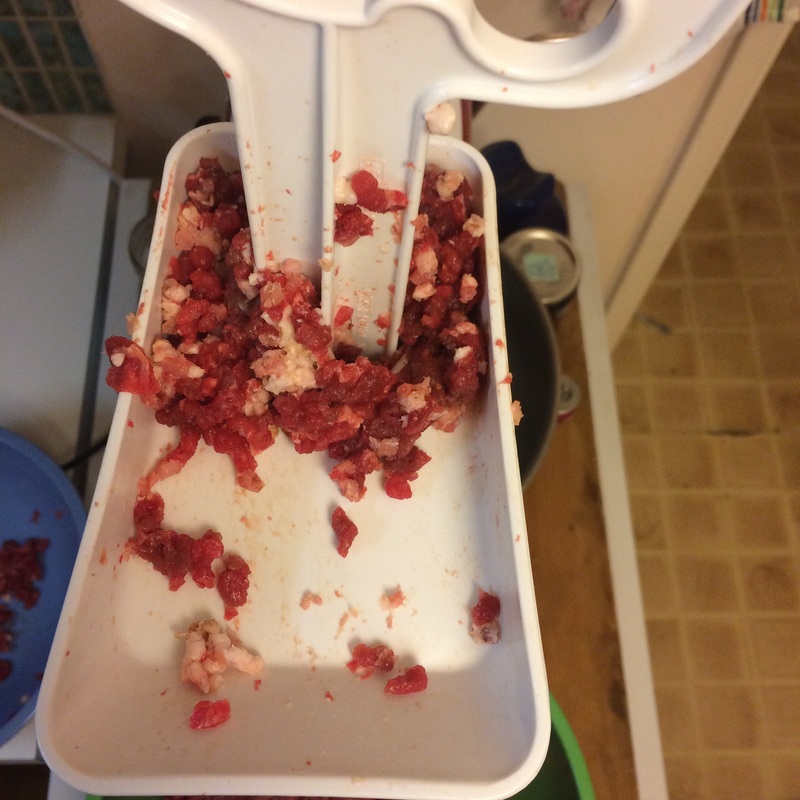
Use the medium-sized grinding plate in the grinder. Have several bowls ready to catch the meat as it is expelled from the grinder, and space on your freezer or refrigerator shelves for the bowls to hang out in between grindings and packaging.
Slice the meat into sizes that will slide down the hopper of the grinder. It can be long slices or chunks, but it has to be able to slide down the hopper.
Fill the hopper with meat, and then with a bit of bacon ends, and press down with the hopper while the mixer is set to medium-low. Once you get comfortable with filling the hopper (3 small handfuls of meat, 1 small handful of bacon is my routine) and pressing it down, you can turn the speed up. Because the grinder works quickly, you will probably be filling the hopper frequently and you won’t have much downtime.
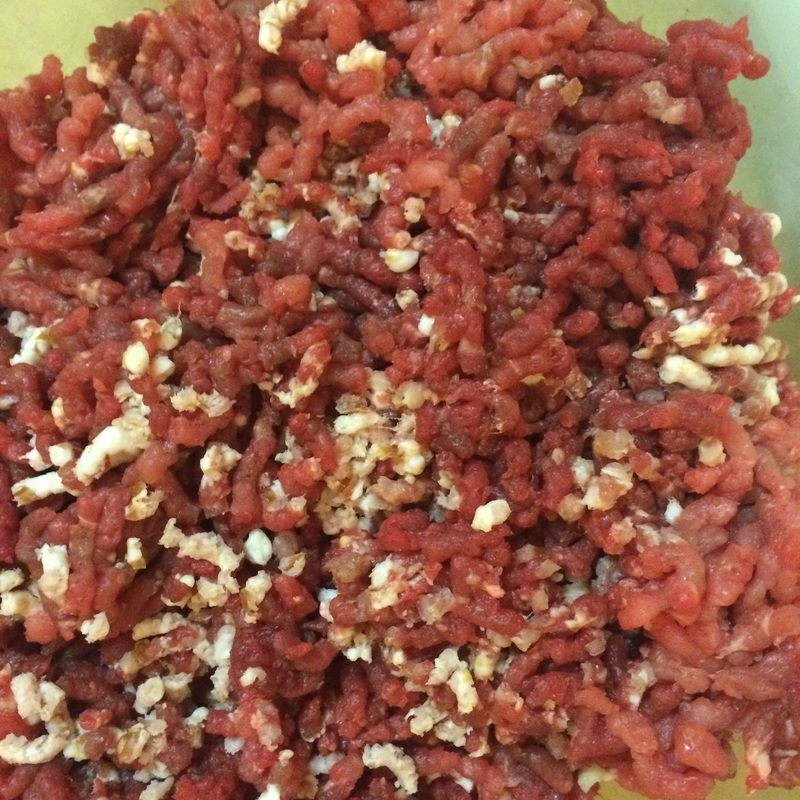
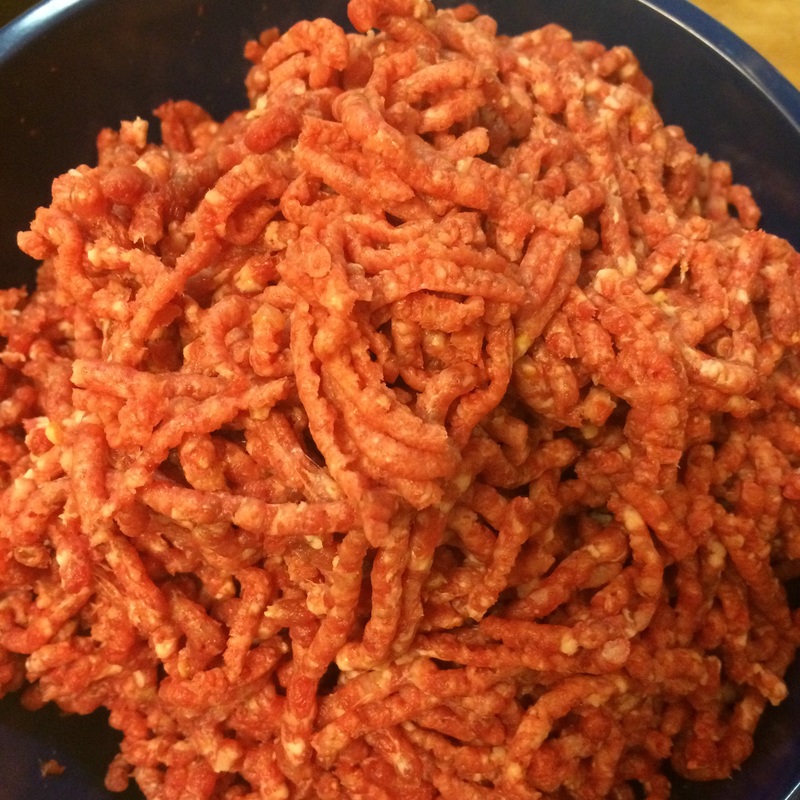
This is after the second trip through the grinder. Much closer to hamburger color, right?
Package in weights most useful to you in freezer paper like that below.
I like to wrap lots of packages with one pound and a few in two pounds but think about the recipes that you like and the number of people you most often feed and wrap accordingly.
I jumped on Periscope during my last meat grinding session to share the process. Here’s the YouTube video!

Leave a Reply